Forms
Forms are used to get and process user input on the frontend. You can manage them (create, edit, and delete) from the backend using the Content/Forms section:
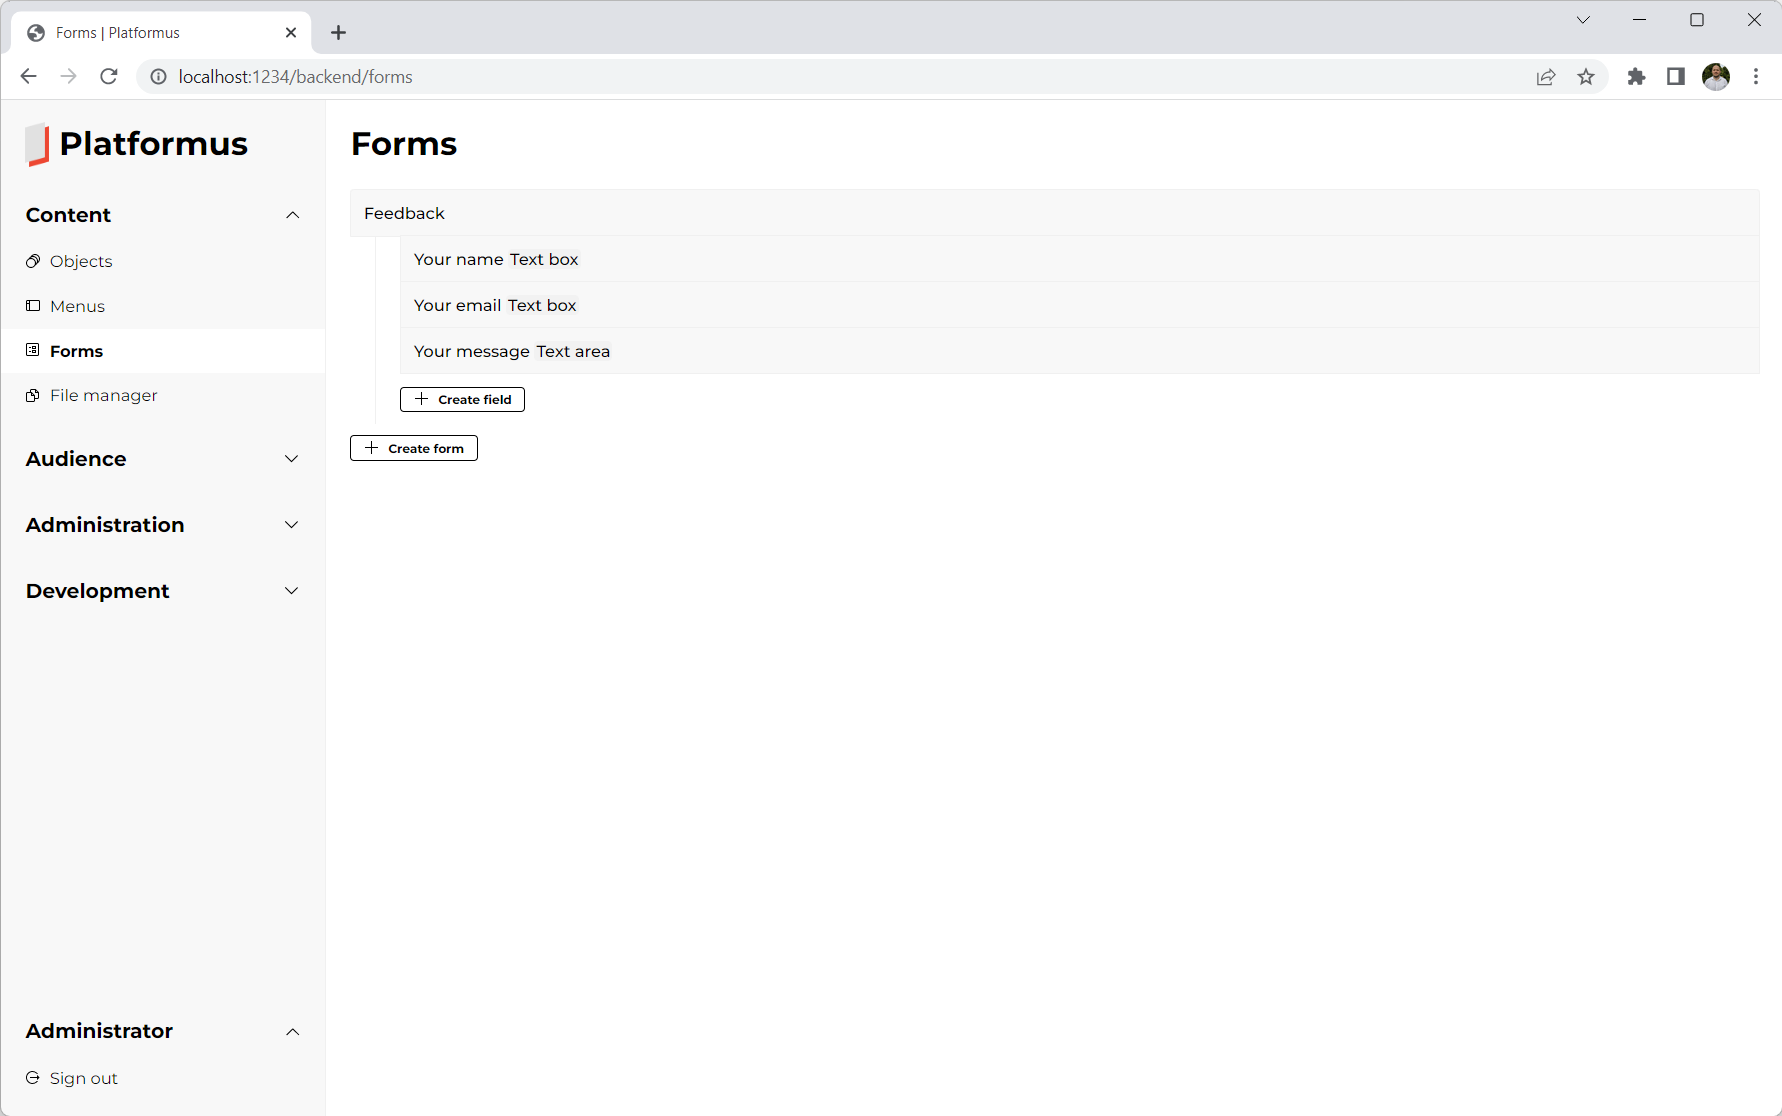
Each form has code, localized name, submit button title, and other fields:
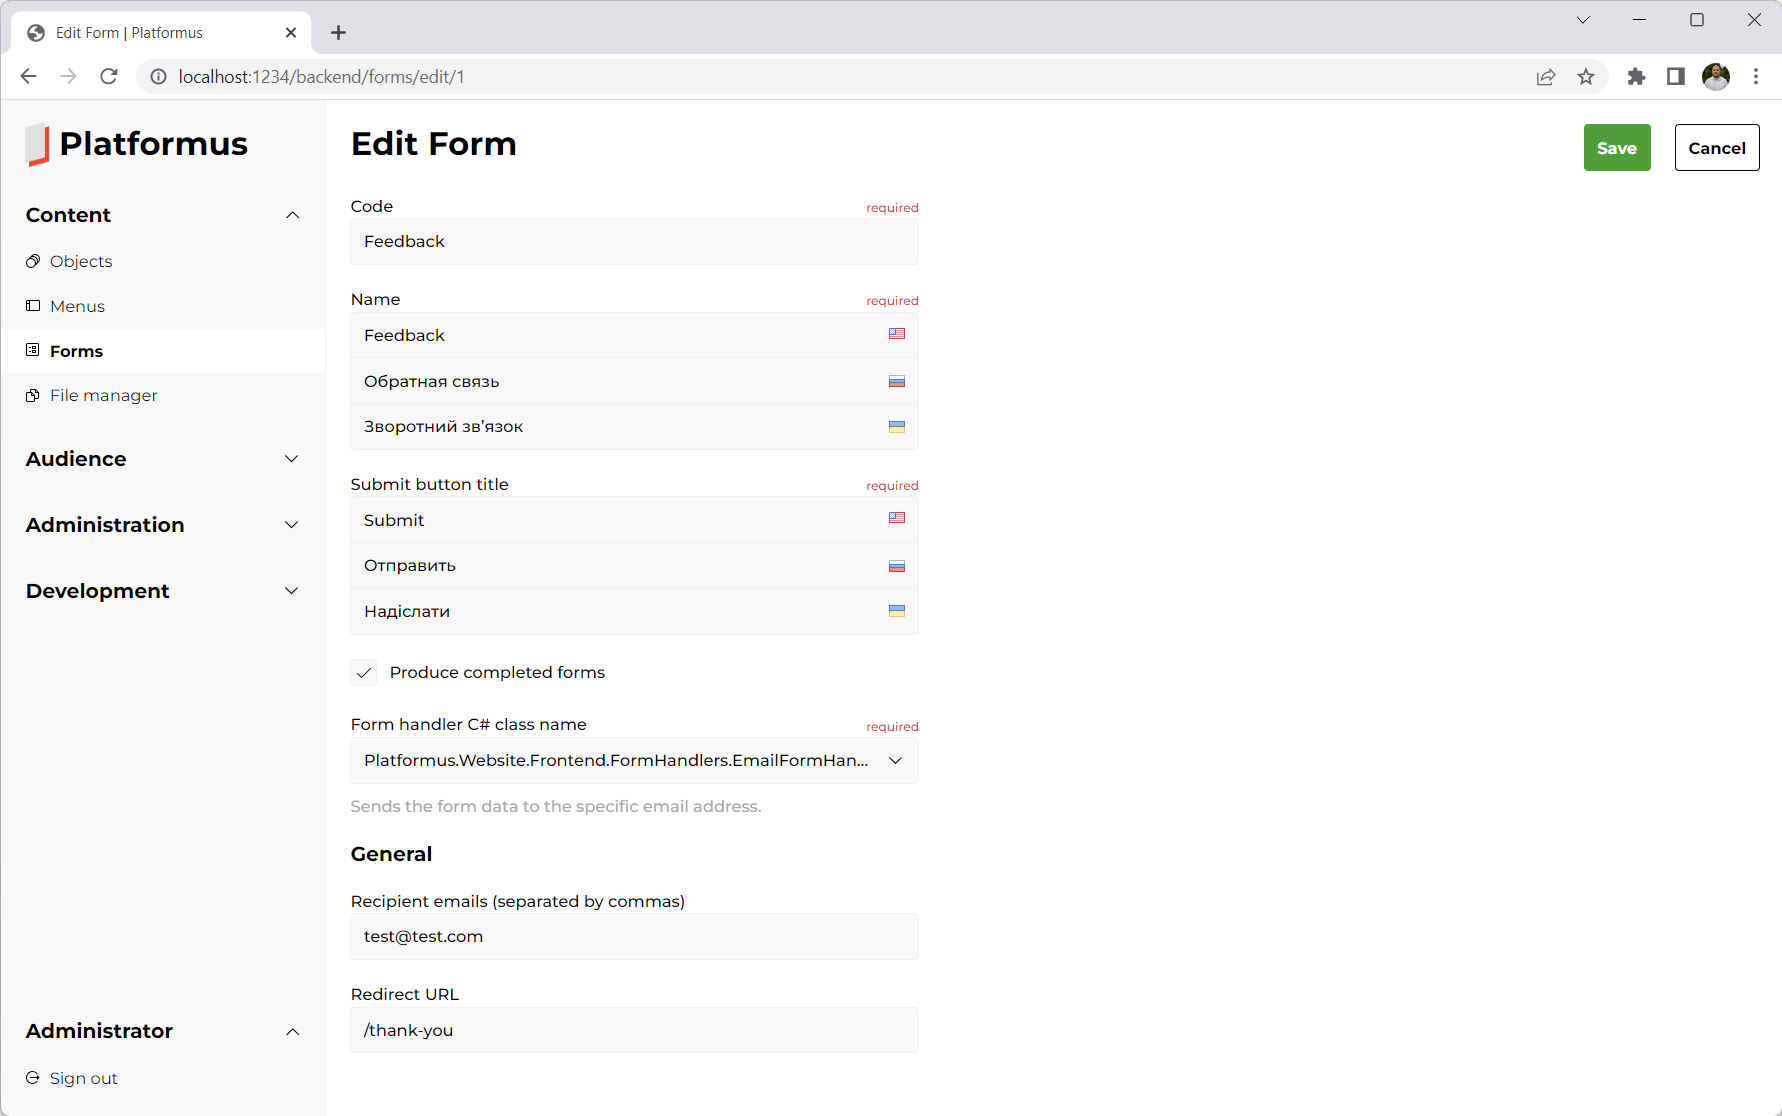
Code
Code might be used to get forms from code (see examples below).
Produce completed forms
The Produce completed forms checkbox allows to specify if you want completed forms to be created each time user fills the form. You can review completed forms (user input) from the backend any time if they are created.
Form handler C# class name
Defines the implementation of the IFormHandler interface that will handle the user input for this form. There is the only one built-in implementation of this interface: the EmailFormHandler class. It sends the user input to the specified recipients by the email. You can write your own implementations of this interface. For example, you can have form handler that creates comments using the user input on a blog post page.
Each form handler can have different (specified by the developer) parameters, which use different parameter editors. Parameter editors might be created by the developer too. (The built-in form handler has two parameters: Recipient emails and Redirect URL.)
Forms consist of fields. There are different types of fields (and you can add your own ones). Each field has type, localized name, position, and other fields:
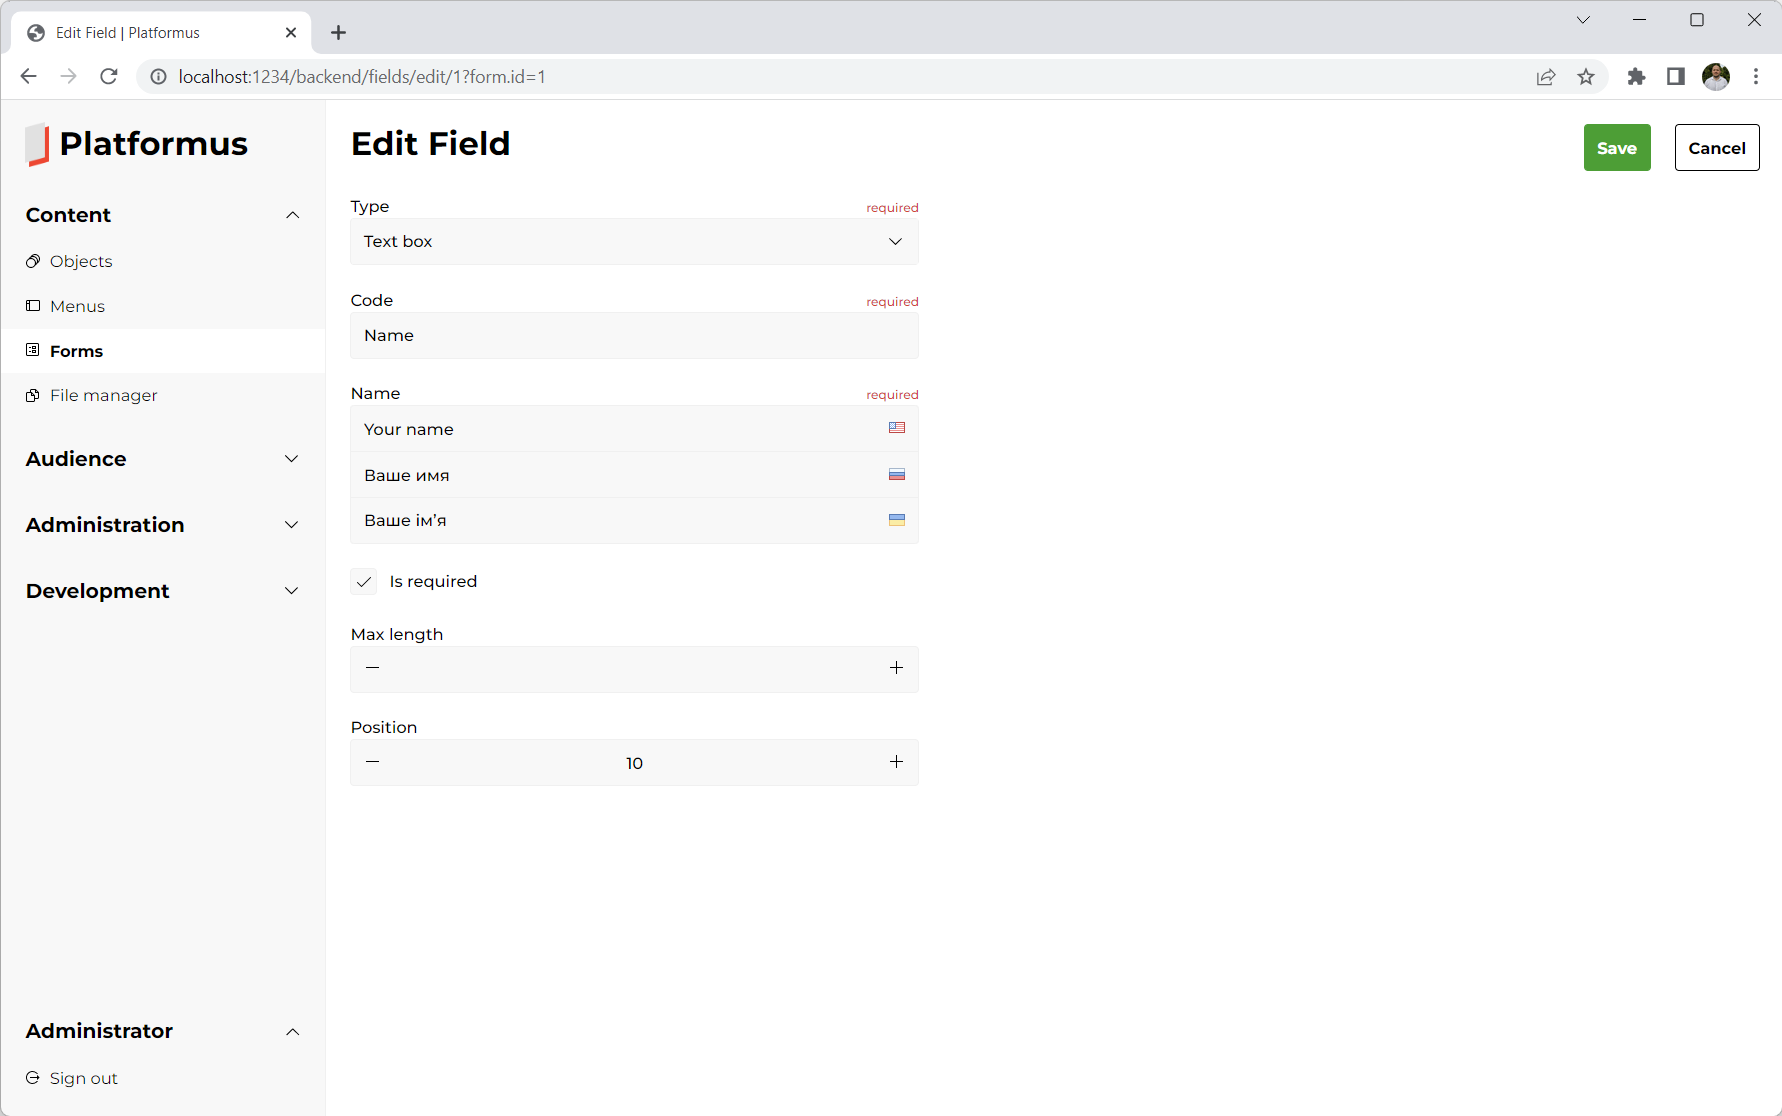
Is required
Prevents user from submitting the form until this field contains value.
Max length
Prevents user from specifying a longer text value than allowed.
Position
Position might be used to sort the fields in the correct order within the form.
The fields of the type Drop down list also have user-defined options.
Once form is created, you can display it on the frontend using the built-in FormViewComponent view component like this
(the form code is passed as the parameter to identify the form we want to display):
@await Component.InvokeAsync("Form", new { code = "Feedback", additionalCssClass = "master-detail__form" })
Or using the view component tag helper:
<vc:form code="Feedback" additional-css-class="master-detail__form" />
As you can see, an additional CSS class might be applied using the corresponding optional parameter.
The result can look something like this:
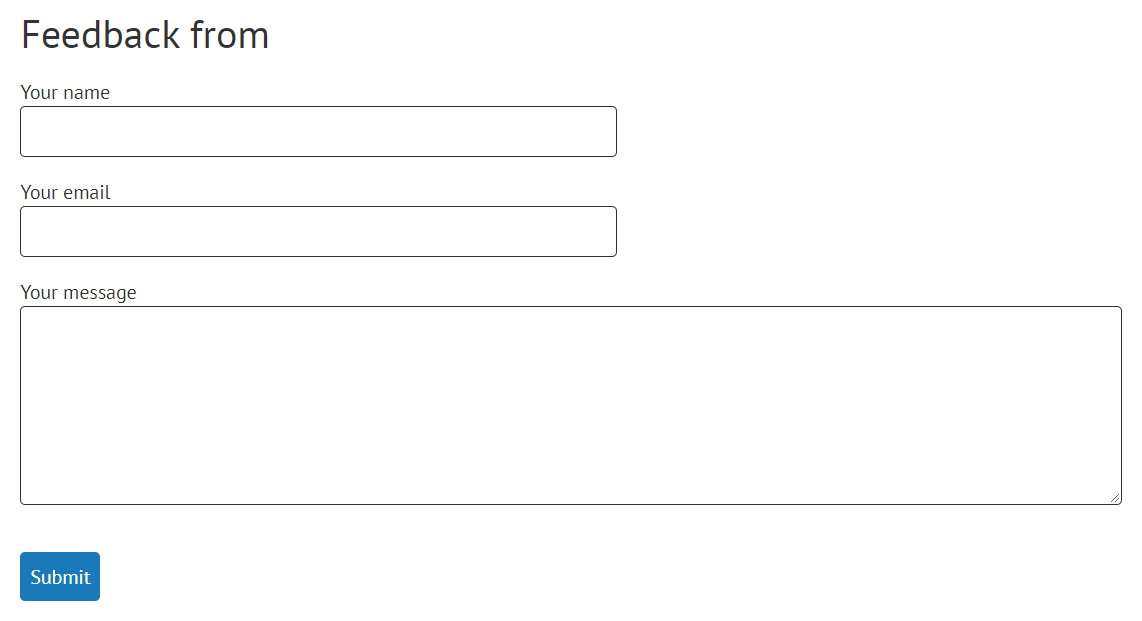
Forms are displayed using the built-in views (_Form and _Field). The HTML elements have unique CSS classes (the BEM methodology is used), so it is easy to apply styles to them:
<form class="form" action="/en/forms/send" enctype="multipart/form-data" method="post" novalidate="novalidate">
  <input name="formId" id="formId" type="hidden" value="1">
    <div class="form__field field">
      <label class="field__label label" for="field1">Your name</label>
      <input name="field1" class="field__text-box text-box" id="field1" type="text" maxlength="64" data-val-required="" data-val-maxlength-max="64" data-val="true">
    </div>
    <div class="form__field field">
      <label class="field__label label" for="field2">Your email</label>
      <input name="field2" class="field__text-box text-box" id="field2" type="text" maxlength="64" data-val-required="" data-val-maxlength-max="64" data-val="true">
    </div>
    <div class="form__field field">
      <label class="field__label label" for="field3">Your message</label>
      <textarea name="field3" class="field__text-area text-area" id="field3" maxlength="1024" data-val-required="" data-val-maxlength-max="1024" data-val="true"></textarea>
    </div>
  <div class="form__buttons buttons">
    <button class="buttons__button button" type="submit">Send</button>
  </div>
</form>
If you want to change the HTML, just copy the views into your project and they will be used instead of the built-in ones, so you will be able to modify them as you want.